A Vintage Rolling Pin Makeover
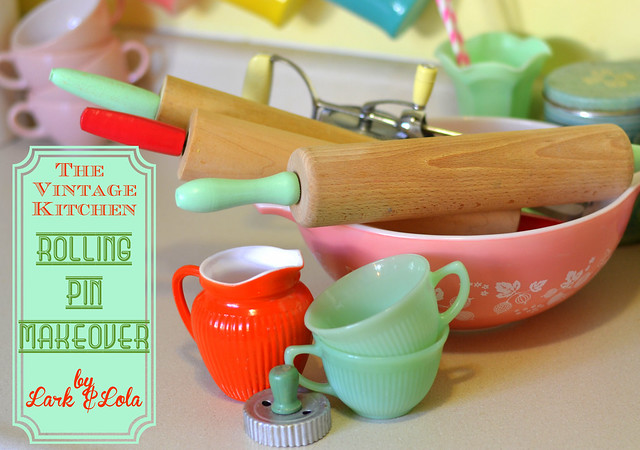
I only recently realized how cute rolling pins can be when I saw them gathered together {see my Instagram photo} in a display at A Paris Street Market recently. Ah yes, the rolling pin: a classic timeless kitchen tool. They are certainly at their best, however, when the handles are painted.
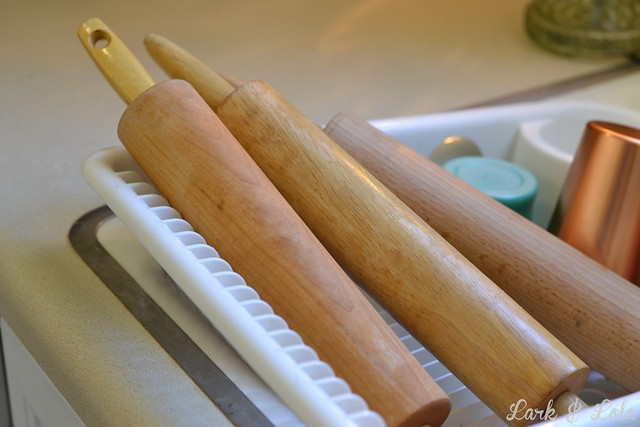
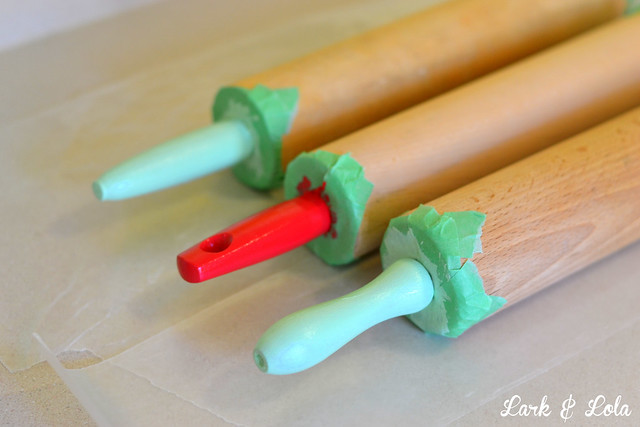
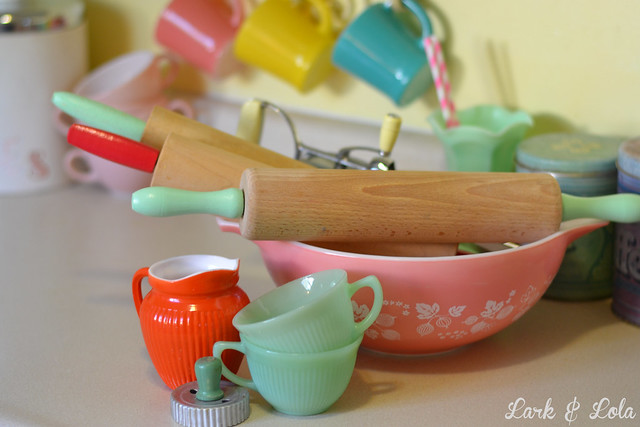
So when I thrifted these three vintage {or at least I'm calling them vintage} rolling pins today for a steal at a thrift store, I decided to re-create that old school look.
But first, they needed a bath.
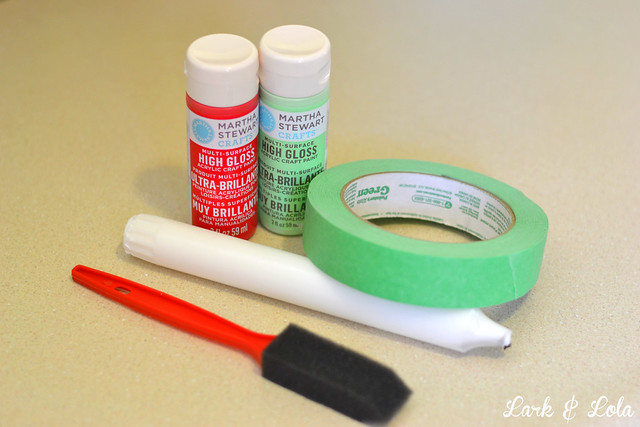
I stopped at the craft store and picked up some Martha Stewart paint in two colors that were popular in the 1940s and 1950s. I chose glossy paint for this project, and the colors are "Habañero" and "Pea Shoot". The green I chose because it was the closest shade to jadite.
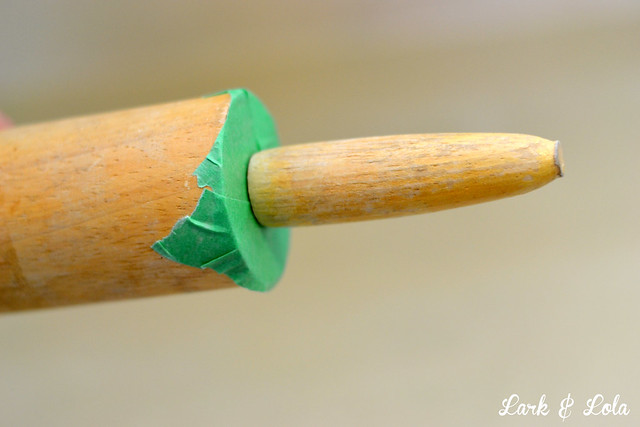
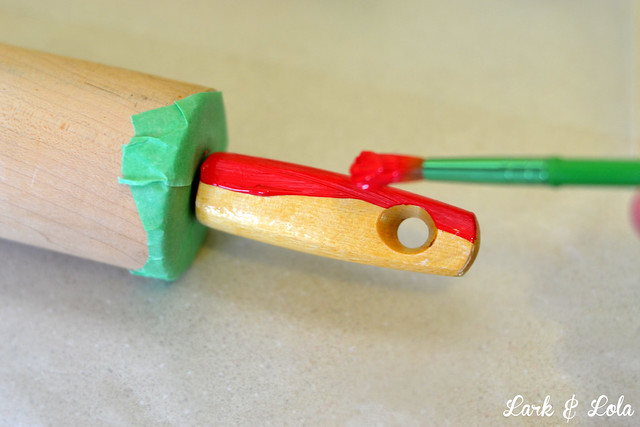
A little painter's tape, worked under the end of the handle, is necessary to keep this project clean and perfect.
I started with a sponge brush, but I forgot that glossy paint shows the most as far as brush strokes. So I switched to a soft paint brush.
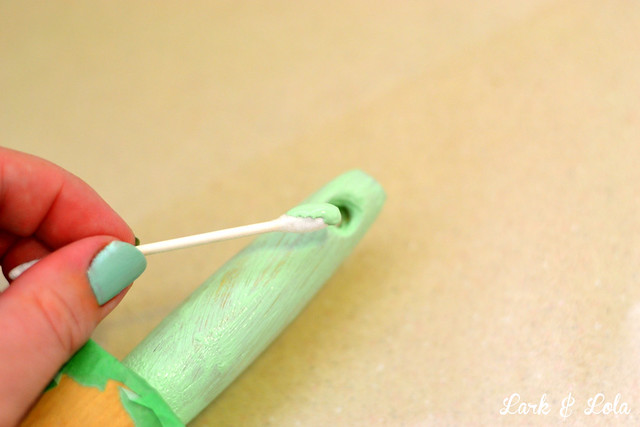
I had to use a cotton swab to get paint in the holes. I wanted these rolling pins to look like they were originally painted and real vintage.
A couple coats and some drying time did the trick.
A wax candle rub before and/or a fine grit nail file rub after painting gives it that chippy vintage look.

Regarding chips...
Now, here's the thing--I plan to also coat these with a light coat of glossy Mod Podge to seal the paint. If I only wanted a decorative rolling pin, this would be good enough. But just in case I ever really use these while baking, I don't want any paint to chip off. That said, Mod Podge is NOT considered food-safe. Though it is non-toxic, it is not approved by the FDA as food-safe. However, since the handles are not meant to come into direct contact with food, I'm okay with that. Just use your own discretion before trying this for yourself, is all I'm saying. {Honestly, I think the vintage ones are more likely to actually be chock full of lead.}

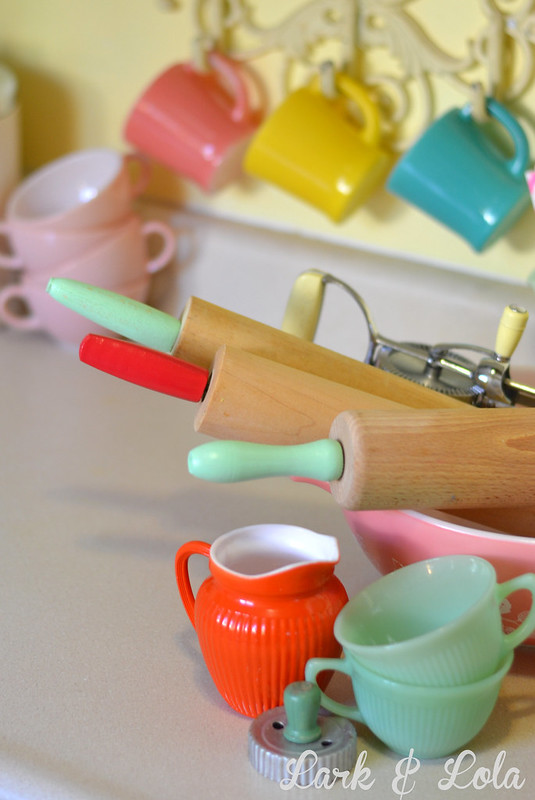
You have to admit, this is a lovely upgrade--albeit the simplest of projects--to the formerly drab rolling pins. Did you know rolling pins could even be considered "drab"? Well they can. So...go paint some.
Alright, that's all I've got today folks.
Cheers,
Heather


9 *´¯`* ℓσvεℓү cσммεηтs *´¯`*
I love these Heather!! Thanks for the inspiration-
ReplyDeleteYay! Thank & you're welcome. Thanks for the kind comment :-)
DeleteSo I have a wood rolling pin that my mom gave me from her kitchen 17 years ago when I moved out on my own. Do you suppose that is vintage? HA! I'm totally doing this. I need to find another one so I can do both a pink and a turquoise.
ReplyDeleteYou always have the best ideas. Have a great weekend!
~Erica
Hmm...vintage is technically anything 25 years or older, so if she had owned it for several years then YES, it's vintage! But I'm pretty sure at least one of my rolling pins in this blog was NOT vintage (it was marked as being from Denmark though, so that has to count for something!)
DeleteThanks for visiting, Erica! You are my thrifty/vintage/crafty kindred spirit ;-)
What a neat idea! Never thought of doing this...I have a rolling pin and will be doing this! Thanks
ReplyDeleteShow us how it turns out!
DeleteThanks for visiting ;-)
I have done this with many of my vintage rolling pins over the years...did a tutorial on my blog last year :) I keep mine in a vintage egg basket in my kitchen.
ReplyDeleteLori--I looked for your post but couldn't find it. Would love to see your post! Vintage egg basket sounds like a winner for sure ;-)
DeleteThat's such a neat idea! Now I'll have to start watching for rolling pins. :-)
ReplyDeleteLark & Lola love hearing from you!