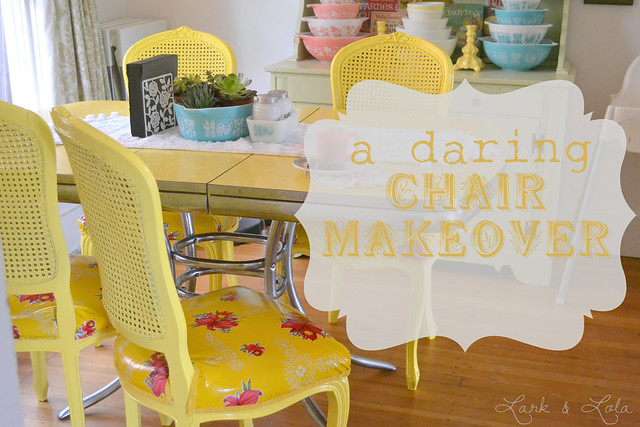
A Very Daring Chair Makeover
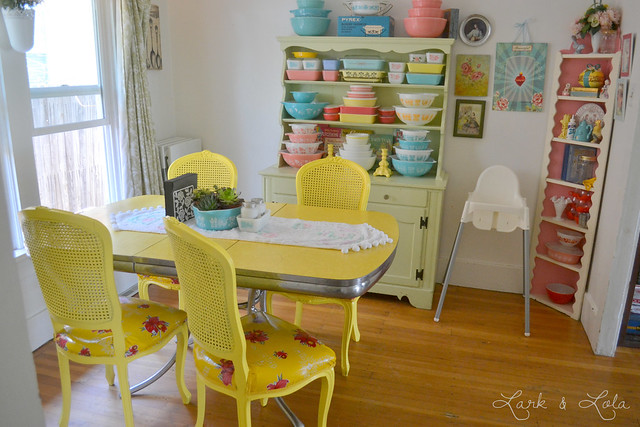
Our dining room has long needed a makeover. I was so done with the painted antique-white wood table we'd been using for years. So when we bought our new {vintage} retro yellow dinette table at an antique store a few months ago, we were very excited, as I'd been begging for one for months. But we were suddenly faced with the challenge of hunting down matching chairs. Let me tell you, retro dinette chairs are not easy to come by. Especially for a decent price. And by decent, I mean super cheap.
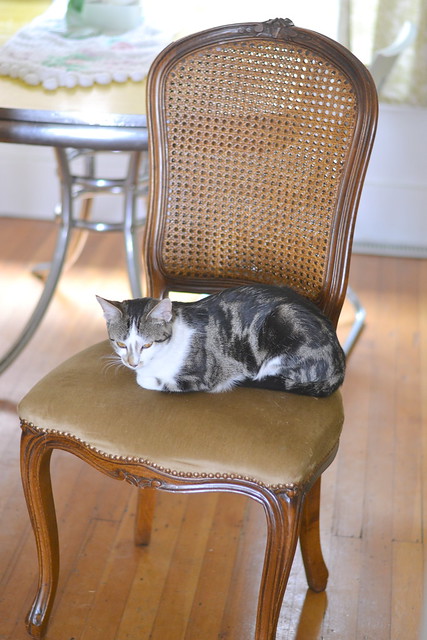
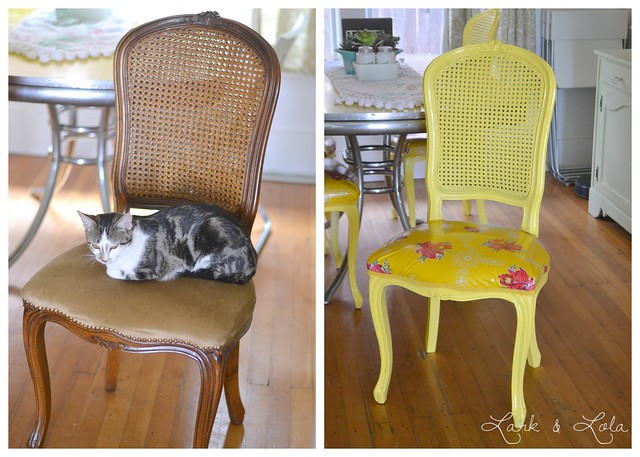
Then one night I was searching Pinterest, desperate for a source for good matching chairs, when I came across these cane back beauties. That's when it hit me, we actually had cane back chairs just like that, in our garage! We had inherited them last year when my grandmother passed away.
I asked my mother for her blessing first, and then went ahead with a quite daring chair makeover. Matching these Victorian style cane back chairs with a 1950s retro dinette table, it was gutsy! But I love the outcome.
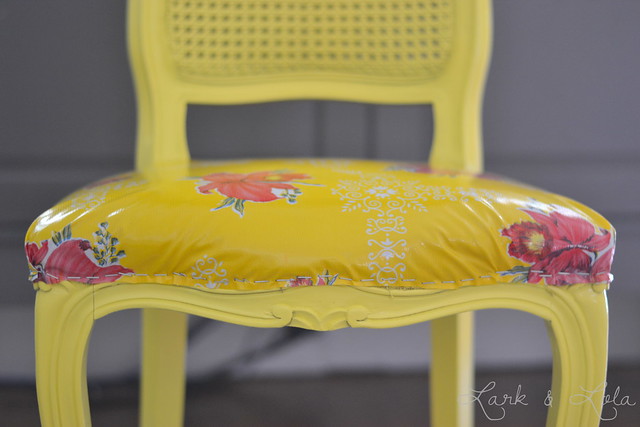
I painted them a bright cheery yellow {Downy Chick from Ace Hardware} and recovered the seats with oilcloth. Yes, oilcloth on grandma's nice old chairs! My stars...
I chose oilcloth for three reasons: 1) I have little ones who constantly spill their food and 2) our cats won't try and claw on oilcloth, and finally 3) I really felt like the vintage print oilcloth would help tie together these two styles.
{And speaking of oilcloth, I was very pleased to discover how cheap you can get it on Amazon.com! This is the fabric I chose, and I only needed 2 yards.}
It was a risky, daring makeover, but I'm so glad I tried it.
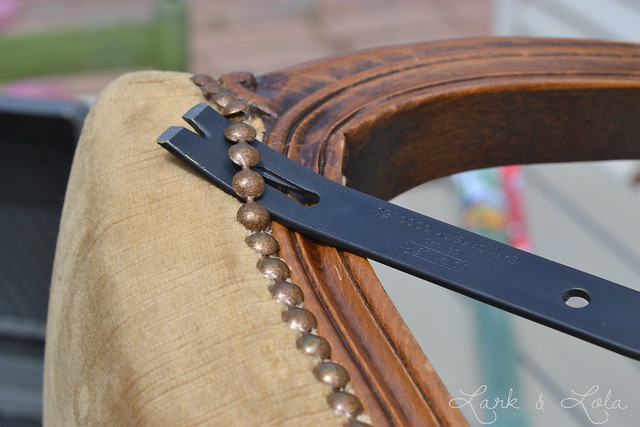
The first step was to remove the upholstery tacks, which thankfully weren't individual, but a string of tacks. They came out very easily, actually.
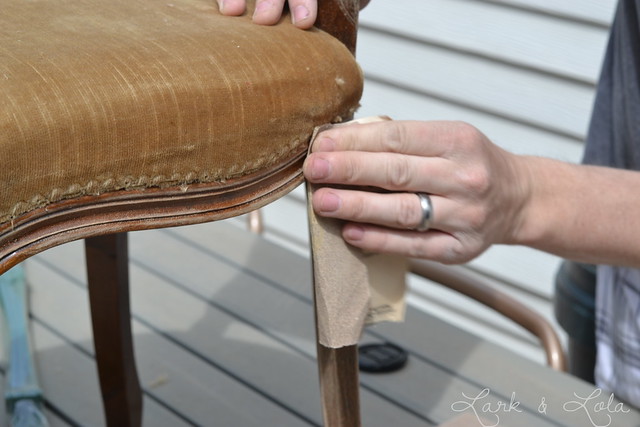
Then a good sanding, which is pretty much always necessary when you're painting over finished wood. I've tried to skip this step in the past, it's never turned out well. We also primed. Primer is always good too.
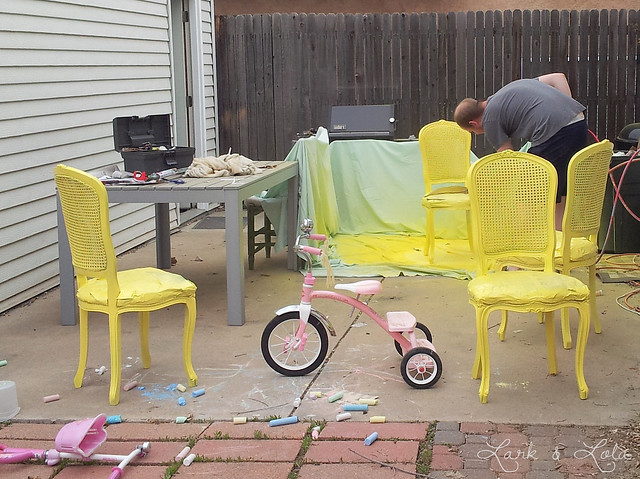
{Don't mind our trashy back patio.}
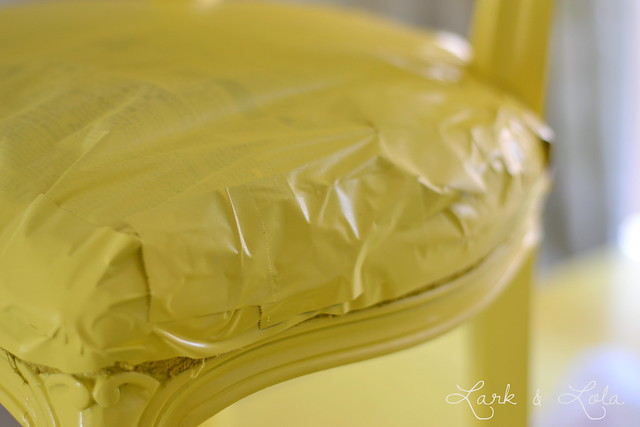
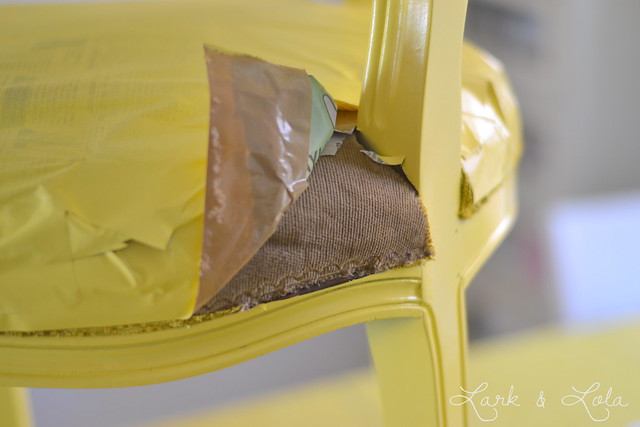
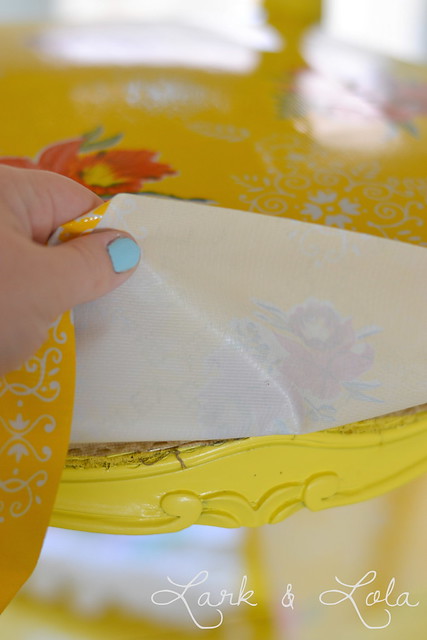
Finally, after discovering that the cushion was not what I'm used to--a cushioned board you can simply unscrew and recover separately--these chairs turned out to have a nice woven support and padding really built into the chair. Since they were in good enough condition, I didn't want to pull out the padding. So we taped and covered the cushions before painting.
As for the painting, my husband used his mom's paint sprayer. This is the first time we've actually used a paint sprayer. I can't believe how much faster it goes and how much better the finish turns out when you use a real paint sprayer! We're going to have to invest in one for ourselves.
I picked a semi-gloss finish, which I love. Again, I hoped the gloss finish of both the paint and the oilcloth would help match the retro table better. I was right, semi-gloss is the way to go for this sort of project. That said, boy does semi-gloss take a LONG time to fully dry. It's actually still a tad tacky. It's slowly getting better.
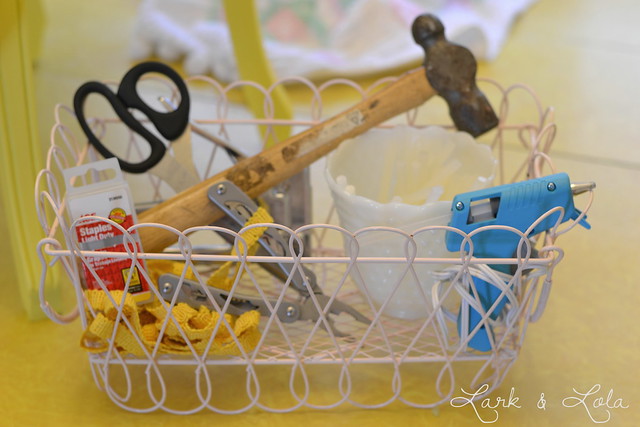
Tools I needed for recovering the chair: fabric scissors, a staple gun, tons of staples, a small hammer, a prying tool/multitool tool, tons of glue sticks, and a high heat glue gun.
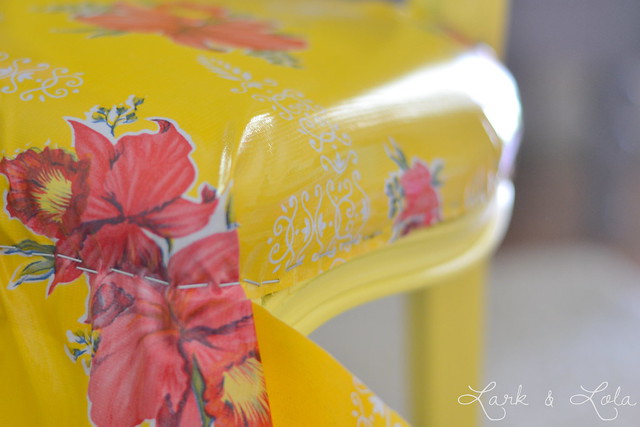
This was the tricky part. Getting the oilcloth wrapped around the back properly was tricky. I learned by trial and error with the first one three, and eventually figured out that it was best to measure the space between the back legs and then pre-cut spaces for them. Just T-shaped cuts, not taking out shapes from the fabric, if that makes sense.

From there it's just a matter of pulling and placing. It takes time and concentration, but eventually you get it looking good okay.

I'd start with the back sections, stapling a few staples into the middle...

Then stapling down the oilcloth around the legs.
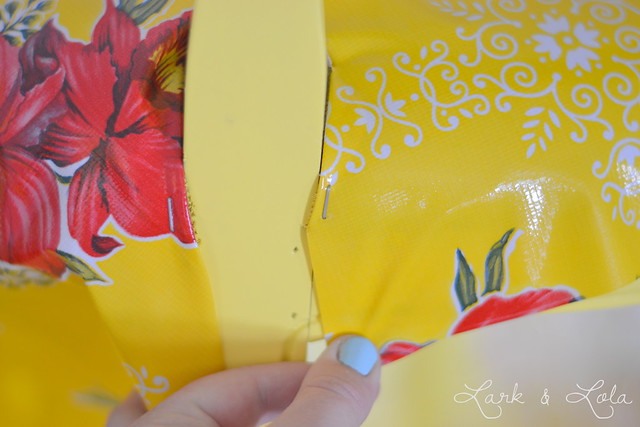
Then I'd move onto the front, pulling the fabric taut and stapling in place just above the painted wood.
I think it's best to staple a bit in the middle of all four sides, pulling tightly, then working on pleating around the corners. Again, tricky, but possible. My chairs definitely aren't perfect.
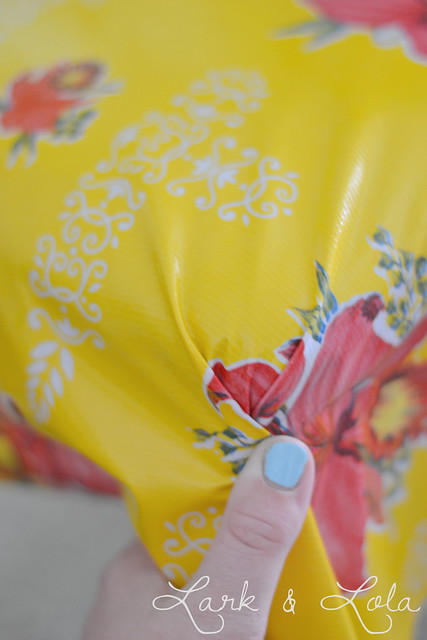
I mostly just did two pleats around each corner.
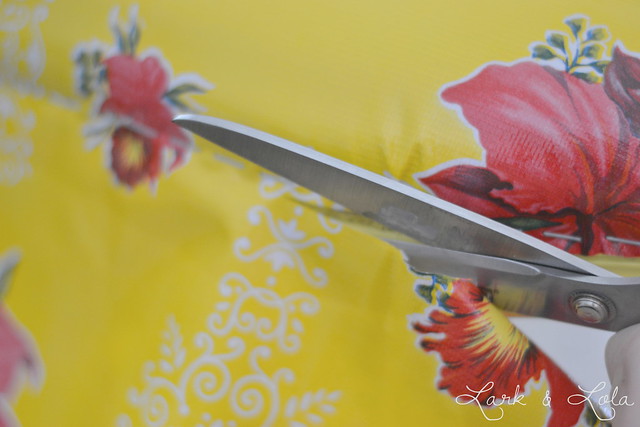
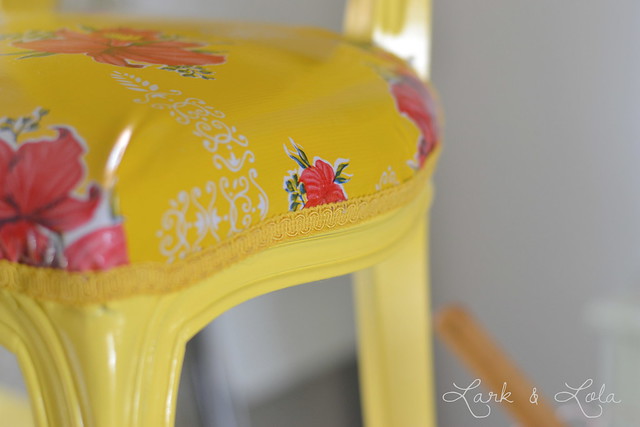
Once all four sides were stapled well in place, I trimmed off the excess. This part is highly satisfying. It finally all comes together!
At this point, I'd stand back and admire the chair. Just one more small detail to be done...
Now, I used a high temp hot glue gun for this, but only after realizing that a good permanent fabric glue wasn't going to work well with the oilcloth. Hot glue, on the other hand, sticks really well to oilcloth. So that's what I used to adhere the last touch: the cording.
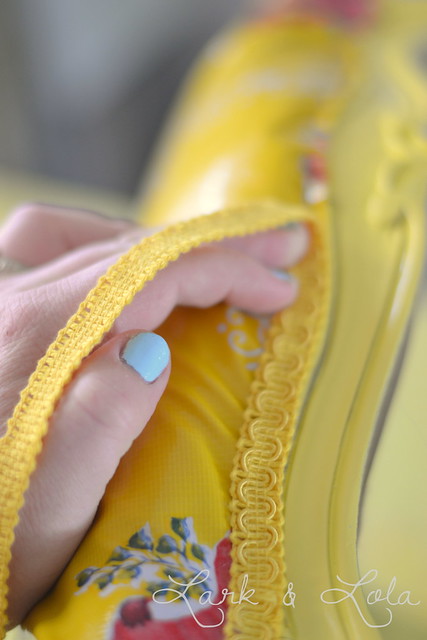
Or edging or whatever you'd call it. I wrapped it around the entire edge of the trimmed oilcloth, a nice finishing touch. I was careful to adhere it to the fabric, not the wood, when going around the back legs:
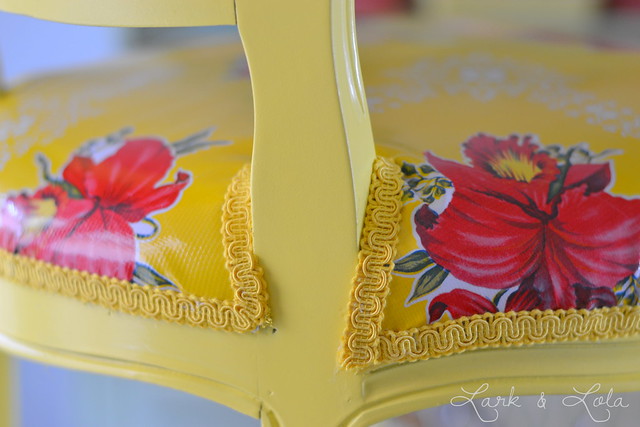
So nice and clean looking now!
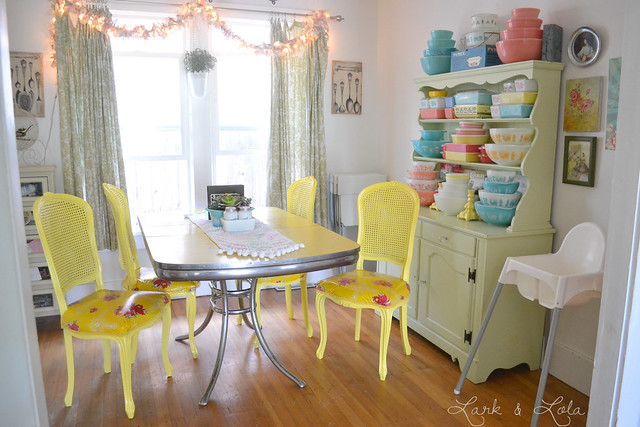
So...what do we think? Do these two polar opposite styles look alright together once the chairs are painted and recovered in oilcloth? I think so, actually!
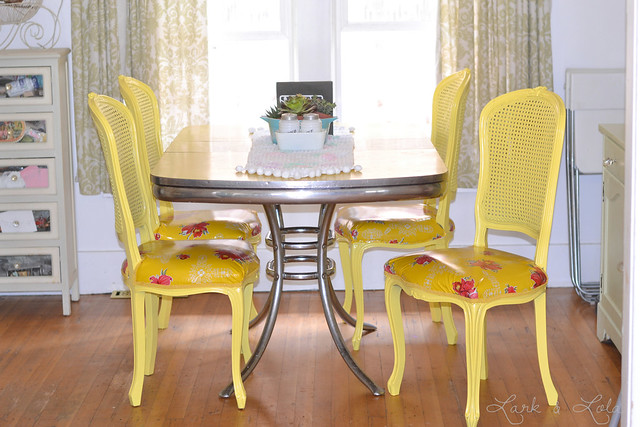
Finally, we can store those ugly IKEA folding chairs away! We'd been using folding chairs while waiting for the right thing to come along to match our new {old} retro table.

I'm loving the look of painted cane back.
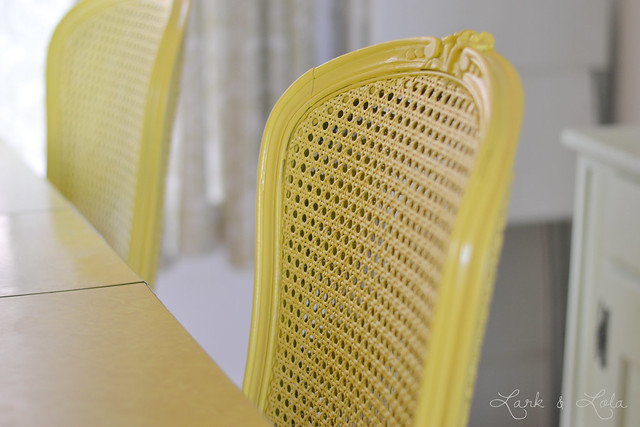
The yellow is bold, and risky, but my house doesn't get enough light so I'm loving the bright color. {Now I'm just dying to get new curtains up. It's always something, isn't it?}
I really wasn't completely sure about this project when I started it, but I have always loved mixing things that shouldn't go together. I think this daring risk ended up being a success.
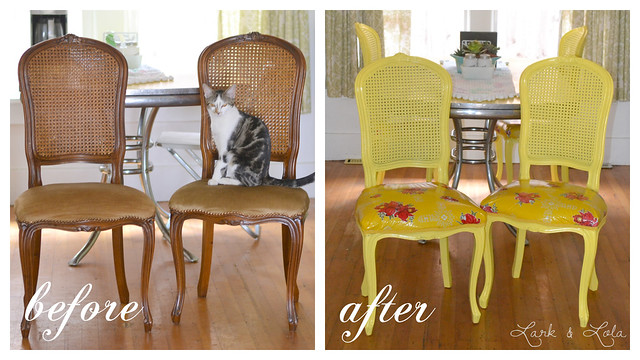
Just one more before & after:
Thanks a million for checking out my latest project!
Cheers,
Heather


10 *´¯`* ℓσvεℓү cσммεηтs *´¯`*
Wow. You are right when you say that this was a daring project! At the end, I was looking at the covered seats and you could still see the staples and I was thinking "she's gonna cover those, right" but then I realized "Well, duh. It's Heather. Of course she is!".
ReplyDeleteWhat a fun project. Your nesting mode must be kicking in:-)
Erica
Haha! I would never leave the staples exposed ;-) That's funny.
DeleteMy nesting instinct is totally kicking in. I'm pretty much frantic to redo and reorganize my entire house.
Thanks Erica!
That really was gutsy but the result is fabulous! I love painting things and giving them new life :) I've been on the fence about painting certain items myself but ultimately, if it comes down to collecting dust in the garage vs. being enjoyed, it's best to enjoy and use the item(s). Great job!
ReplyDeleteYou're so right. These chairs have been in the garage for a good year now. It was time to so SOMEthing with them.
DeleteThanks so much Jenn! :)
What an awesome transformation! And how cool that you had them all along. They look so good, I bet your Grandma would be pleased. The combination off the two styles is something I've never seen, but I really love. Also, your Pyrex collection is beautifully displayed. That is the stuff of a Pyrex lovers dreams!
ReplyDeleteThanks so much Melissa!
DeleteIt is funny that the "answer" was right under my nose the whole time ;-)
I think it looks great! I love the yellow. Love seeing your projects!
ReplyDeleteThanks Katie! :)
DeleteAmazing. Love this project, I think the oilcloth was a great choice. found your blog thru life made lovely. so glad.... and by the way that hutch with the pyrex...I love it. BEAUtIFUL.
ReplyDeleteI absolutely love the pyrex dishes. I have two of the same sets. But what are you using to stack them? I'm always worried I'm going to chip mine. Everything is displayed so adoroabel would love to have this. Cute, Cute, Cute.
ReplyDeleteLark & Lola love hearing from you!